
How to fetch image from URL with SwiftUI the easy way
When you want to create a skeleton app that you don’t need to wary about monitoring complex network state changes SwiftUI has no solution out of the box, and all the code examples out their are way too convoluted. Today I will show you a basic extension for Image that does the job. Note: This also works with Xcode previews.
Important things to note before you start
The images do not update automatically for example while loading you see a placeholder until them image loads. You see the placeholder if the connection was unsuccessful as we are not warying about networking for this tutorial. That will come in another tutorial. This is a simple temporary solution, and is not met to be shipped. Look at this as a tool you will use while designing your app. Adding State changes won’t be that complicated, however it requires a lot more code then we will be using today.
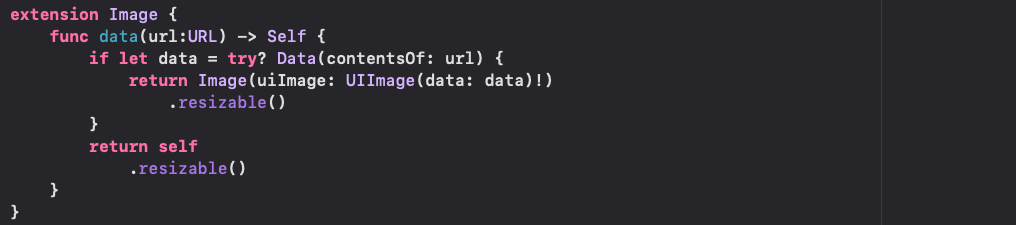
extension Image {
func data(url:URL) -> Self {.
if let data = try? Data(contentsOf: url) {
return Image(uiImage: UIImage(data: data)!)
.resizable()
}
return self
.resizable()
}
}
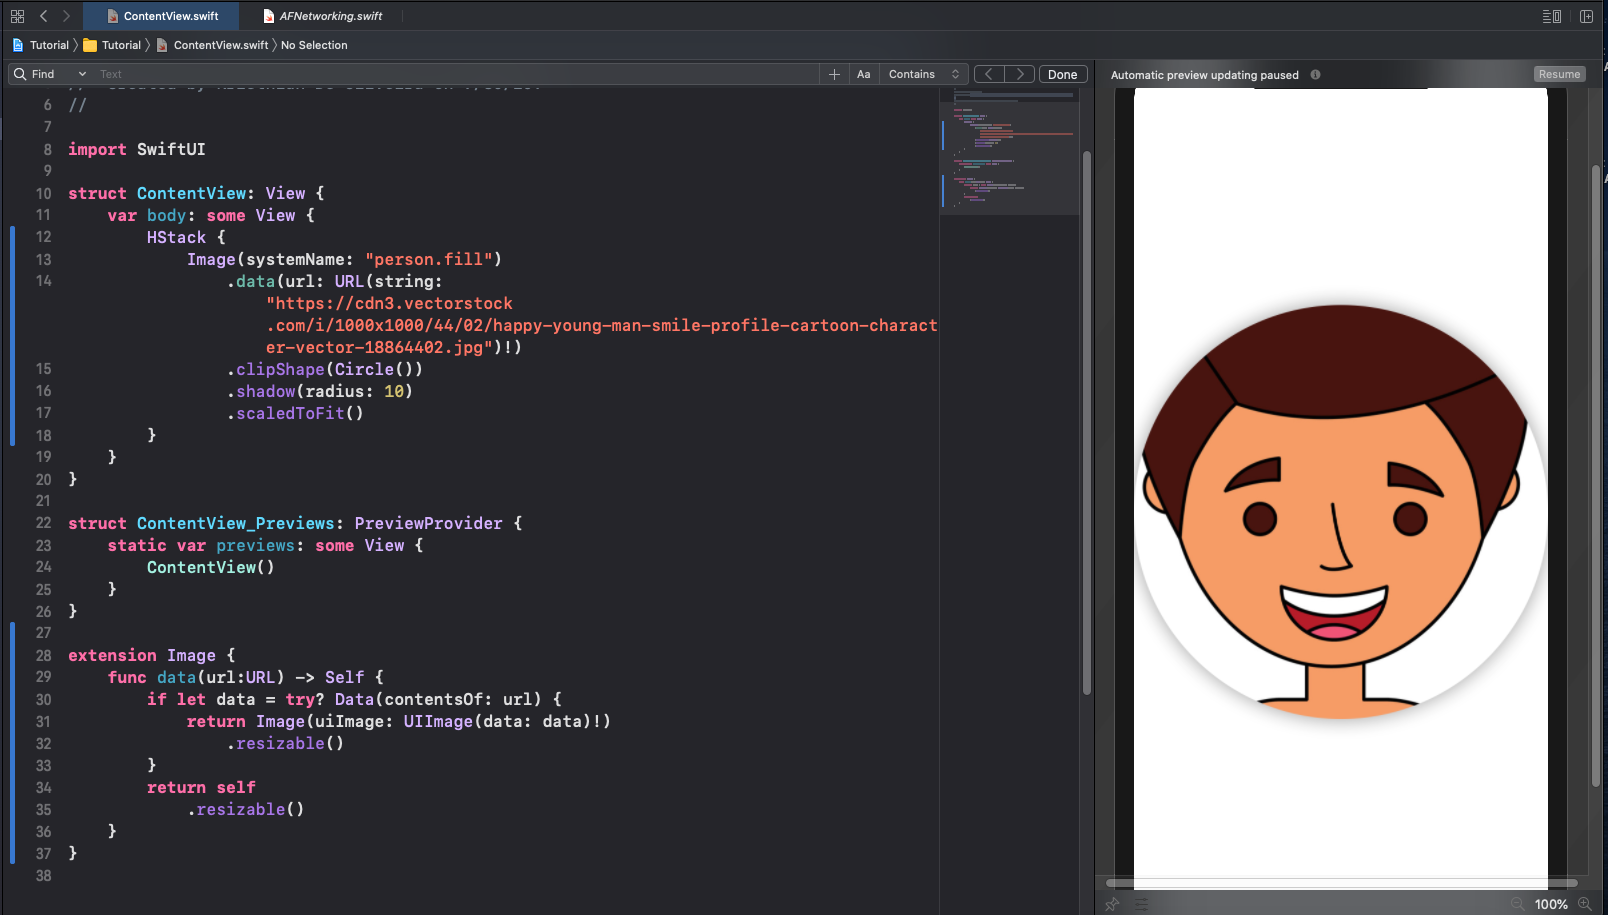
In the code above all we are doing is extending Image with a function Called data which takes in a URL as its parameter, and returns self which is of type Image. Then we create a if statement to fetch the image from the URL. If the image fetch was unsuccessful it will fall to the return statement at the end of the function. Inside the data if statement we return an image with a UIImage passed in to it which handles the image from data conversion. SwiftUI cannot do this without the help of Image from UIKit.

Image(systemName: "placeholder image")
.data(url: URL(string: "Enter your URL here")!)
In the code above we use the extension we created. First you create your image, whatever image you specify is your image that will display if the fetching of image fails. after the image you use dot notation, and add the data function which takes in a type URL. If you want you can modify the extension to take in a string instead of a URL, however I chose URL because I want the code to be clear, and concise.


